DMX512 Tutorial – Part 1
Show Control April 16th, 2008DMX512 is a control protocol that is used by most lighting gear these days. The basic idea behind it is to allow you control a whole bunch of things by only hooking up a few wires. Let’s say you have a light board and 12 dimmers. Instead of having to run a separate wire to each dimmer, the commands for each dimmer are sliced up and fed down 3 wires one after the other. The dimmers receive the commands, locate the ones that are addressed to them and turn on or off accordingly.
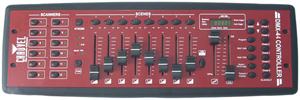
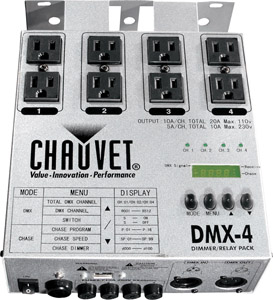
Each DMX port on your light board can handle up to 512 channels (yes, that’s where the “512” in “DMX512” comes from). This grouping of 512 channels is called a “universe”. Each channel can be set from level 0 to 255 (although it may appear as 1-100% on your light board). If you are using regular dimmers then each one will get its own DMX channel.
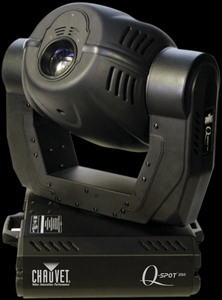
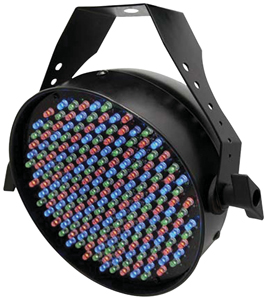
If you are using special effects devices or automated lighting, each device can use more than one channel. For example, a moving head instrument may have 1 channel for the x-axis, 1 for the y-axis, one for color, etc. You need to figure out how many DMX channels each device needs and figure out how to set the starting address of each one so that none of them overlap. You’ll have to look in the manual for your equipment to find out how to set the starting address, but usually there are some DIP switches or a menu option.
Here’s a sample addressing scheme:
|
DMX Channels
|
Device
|
Function
|
| 1-4 | Dimmer Pack | Channels 1-4 |
| 5 | Moving Light | Pan |
| 6 | Tilt | |
| 7 | Color | |
| 8 | Gobo | |
| 9 | LED Par | Red |
| 10 | Green | |
| 11 | Blue | |
| 12 | Strobe | Flash Rate |
| 13 | Flash Intensity | |
| 14 | Fog Machine | Make Fog |
| 15 | Mirror Ball Motor | Direction |
| 16 | Speed |
As you can see it takes some planning, but once everything is hooked up you can control all kinds of equipment from a single controller.
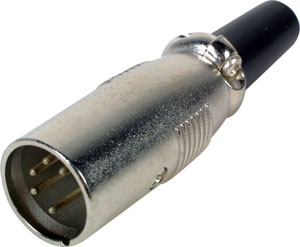
The standard connector for DMX512 is a 5-pin XLR. Although it is not standard, you will quite often see 3-pin XLR connectors on DMX equipment (usually moving lights and portable dimmers). You may be tempted to use regular microphone cables to make your connections but they are not the same. DMX512 requires a higher-quality cable and you could end up with all kinds of weird problems unless your cable is specifically made for DMX use.
DMX512 uses a daisy-chained topology, meaning that devices are connected together one after another. There is a single master device (light board), which connects to the first slave device (dimmer pack), which in turn connects to additional slave devices (more dimmer packs). Most devices have a DMX in and an out to facilitate daisy-chaining. You can’t have more than one master device on the chain or there will be collisions and things won’t work right (only one device can do the talking; the rest must listen).

The ends of your DMX chain must be terminated. This basically means you install a resistor at the end of the chain to prevent the signal from reflecting and causing errors. The good news is that most equipment has auto-termination built in so you don’t have to worry about it. If your end device does not have this then you just need to plug a DMX512 terminator into the output connector.
Well, those are the basics. More and more entertainment technology devices are being made that are controllable via DMX512, which makes automating your show and having a single control point easier and easier. I hope this quick intro to DMX gives you enough information to go out and start playing with it. If you want to dig deeper, continue on to part 2 of the DMX512 tutorial.


October 5th, 2011 at 5:59 AM
That was an excellent briefing on DMX512, basic -easy to understand & to the point. Thanks!
January 16th, 2012 at 9:58 AM
Thanks for publishing this information. I was in a “Tail Spin” trying to figure out what the deal was with the connector types. Most equipment says “DMX512” somewhere, but when you look at the connector, it is a 3 pin xlr. Thanks for clarifying that two pins on the 5 pin connector simply are not used.
February 6th, 2012 at 7:28 PM
Awesome! It is now time for me to come out of the dark ages and embrace this new technology, and this tutorial makes that huge leap much easier. Thank You for posting this!
September 22nd, 2012 at 1:30 AM
Your Site helped, but, I’m Trying to write software to control DMX lighting equipment.
Do you have any suggestions where can I start?
Many Thanks.
Mike Lyons
September 23rd, 2012 at 8:29 PM
Are you looking for help with the programming side or figuring out exactly what to send out the DMX port?